HOW TO LOOK AFTER YOUR CLASSIC WAXABLE TOURING SKIS

How to look after your classic waxable crosscountry skiing skis

To maintain the performance of your classic waxable cross-country skis, maintaining and waxing the soles are essential.
What types of grip wax to choose?
How to mark out the grip zone?
How to perform grip waxing?
Follow the guide!

Classic cross-country skis with waxable soles are more "technical" skis since they are equipped with two waxing zones:
the glide zone and the grip zone, to which a grip wax must be applied.

Classic cross-country waxable ski sole

HOW TO LOOK AFTER YOUR CLASSIC WAXABLE TOURING SKIS

1 - Waxing the grip zone

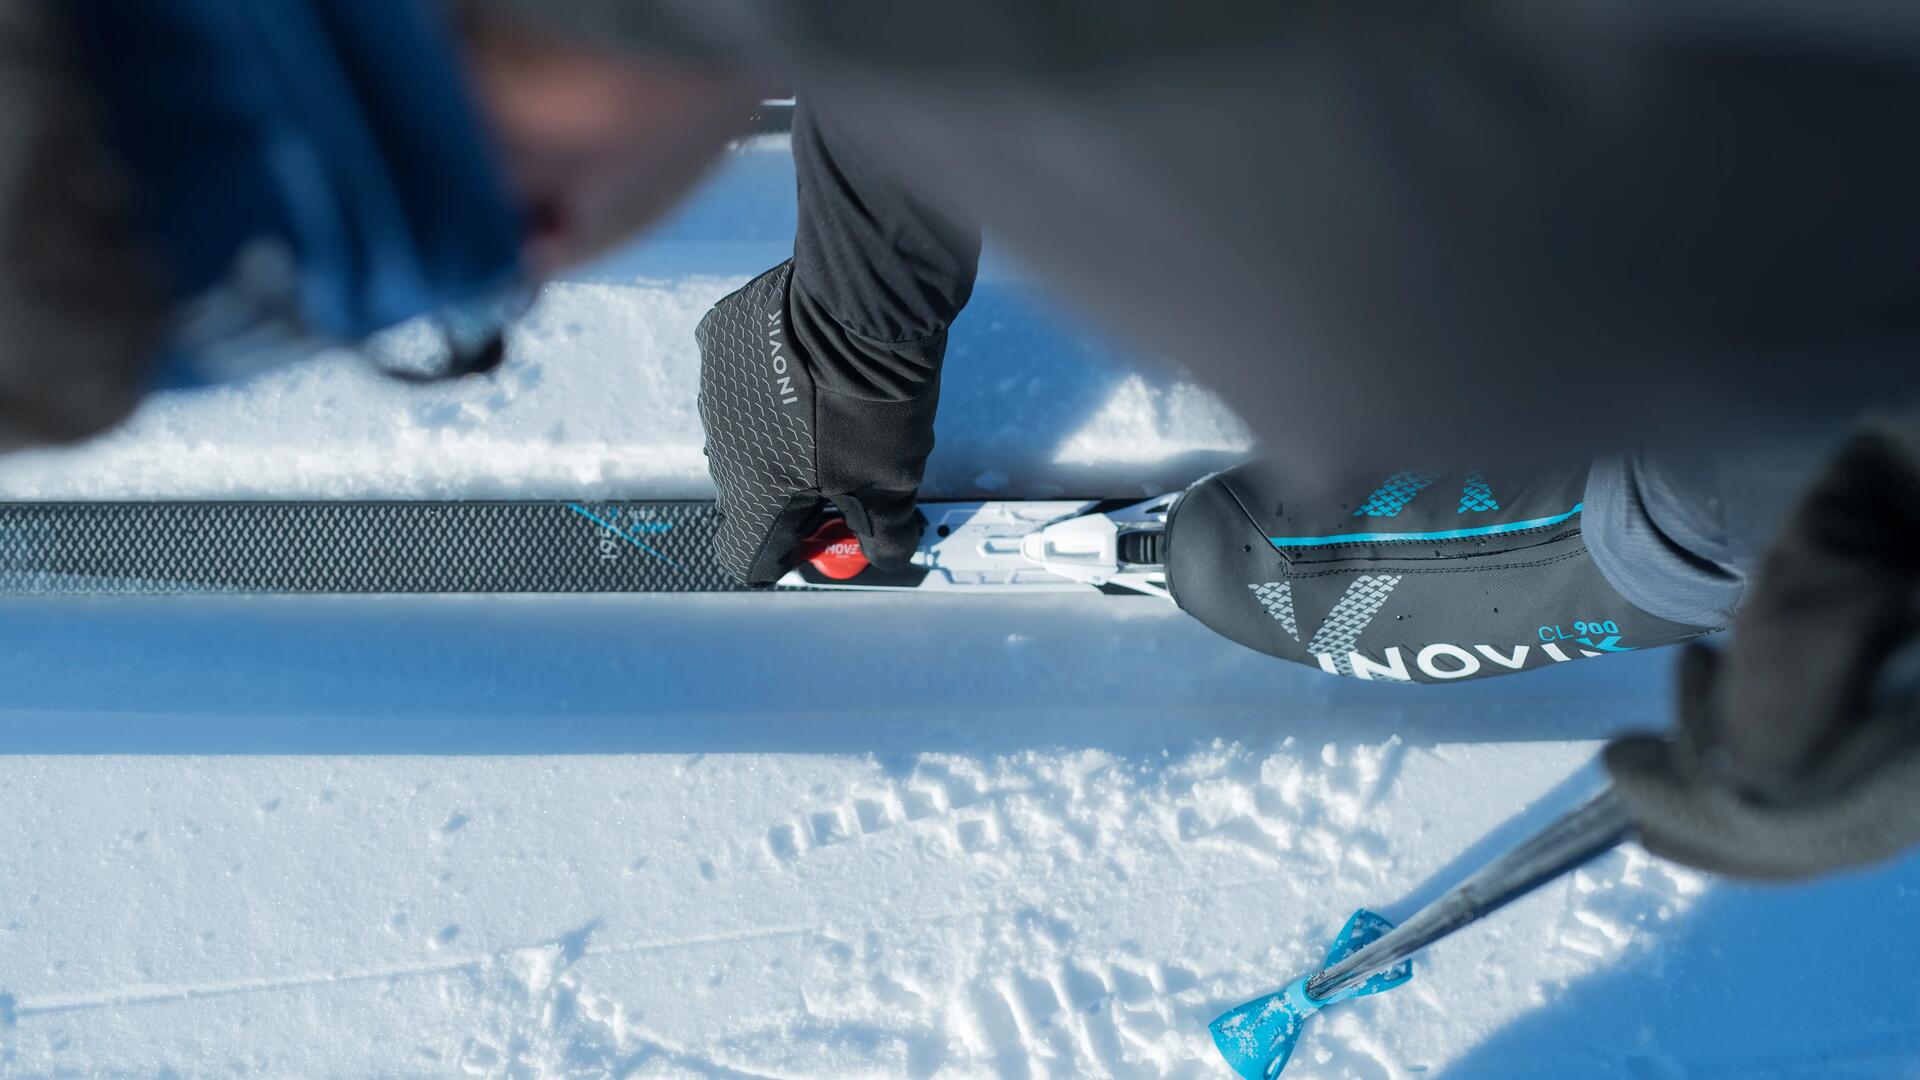
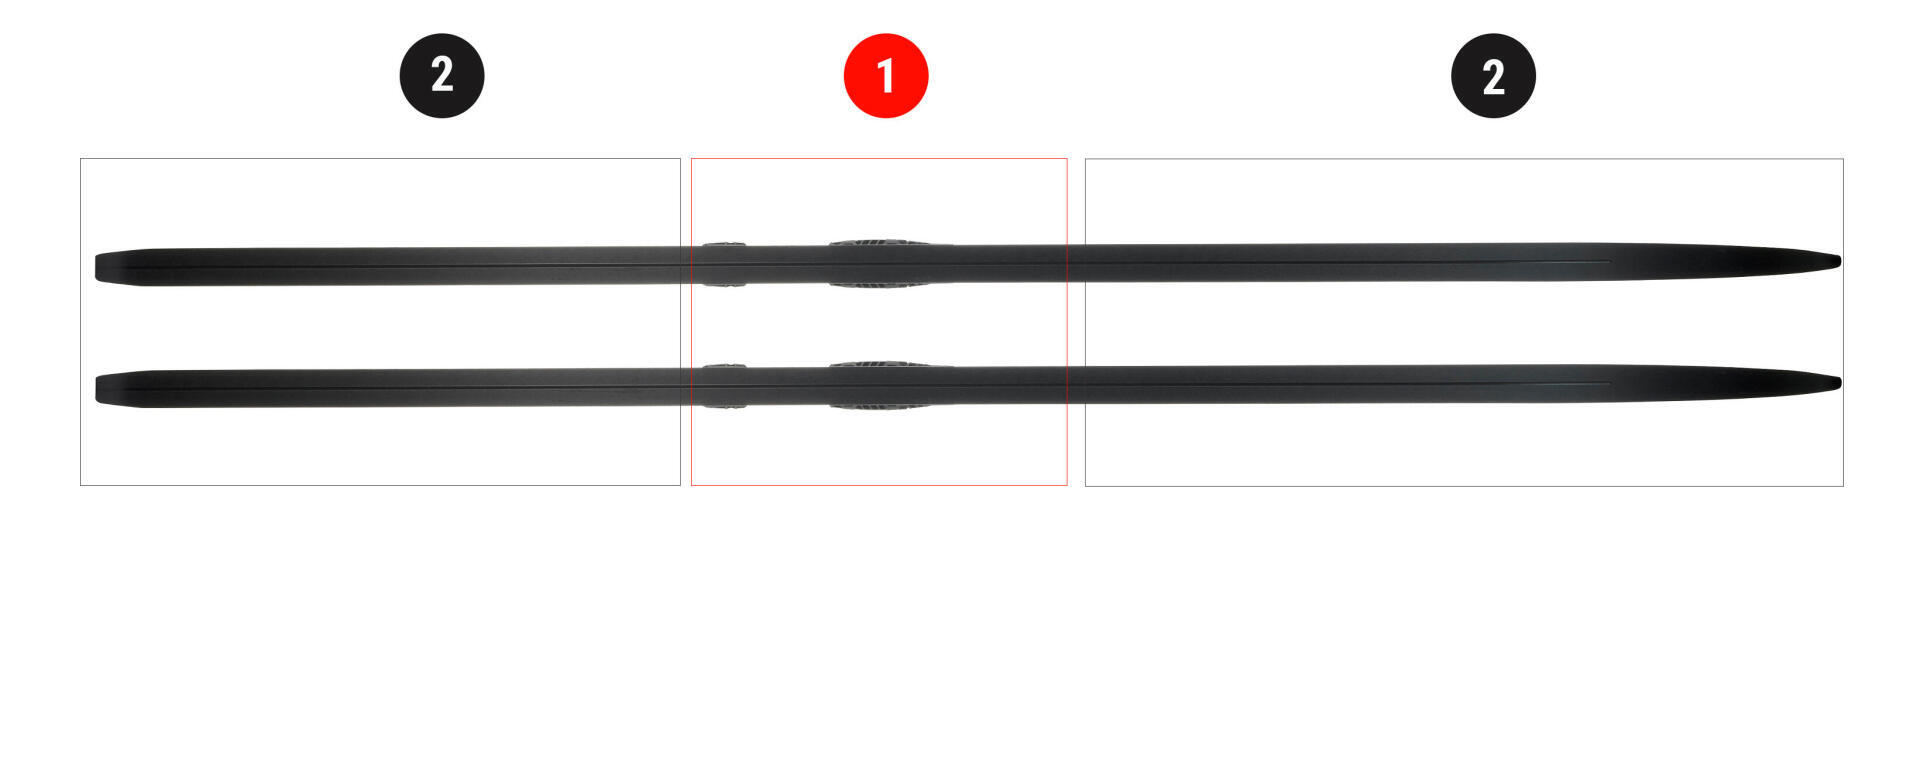
Before performing your grip waxing, it’s important to mark out the grip area in advance.That is, the area on which you’re going to apply your grip wax.
Here are our tips to determine this area:
1 - Stand on your two skis flat, which will put the ski under pressure
2 - Slide a sheet of paper underneath
3 - Mark the point where the sheet meets resistance.
Usually, the grip zone starts about 15/20cm in front of your binding and ends at your heel.
If after a few sessions, you feel you’re having trouble getting your ski to grip, feel free to increase your grip zone on the front, up to 25 cm in front of the binding.

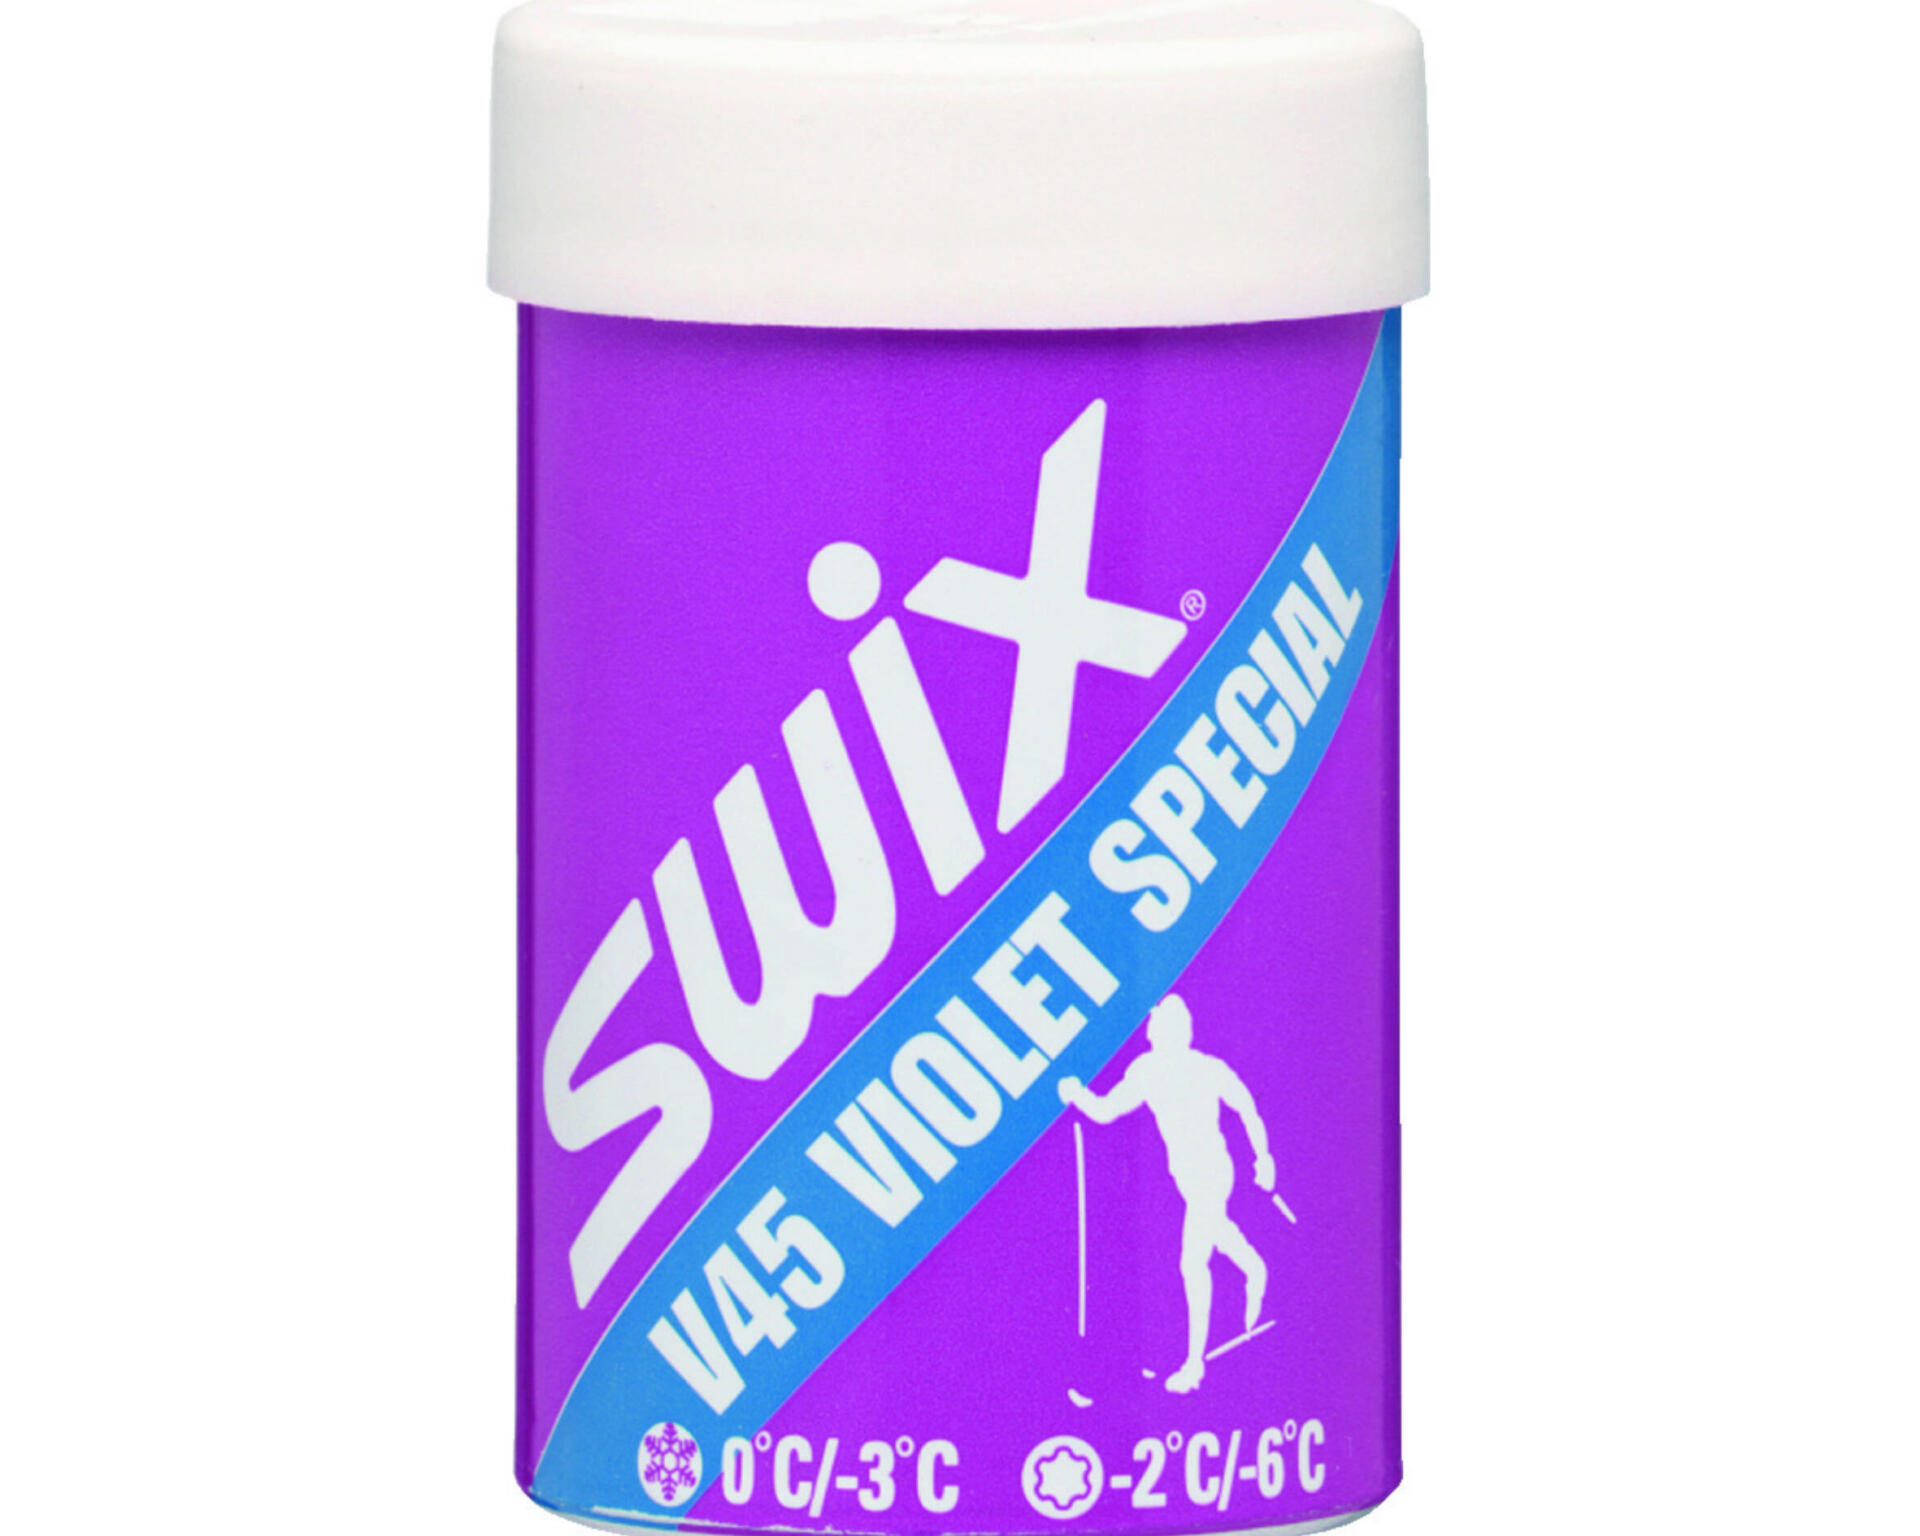
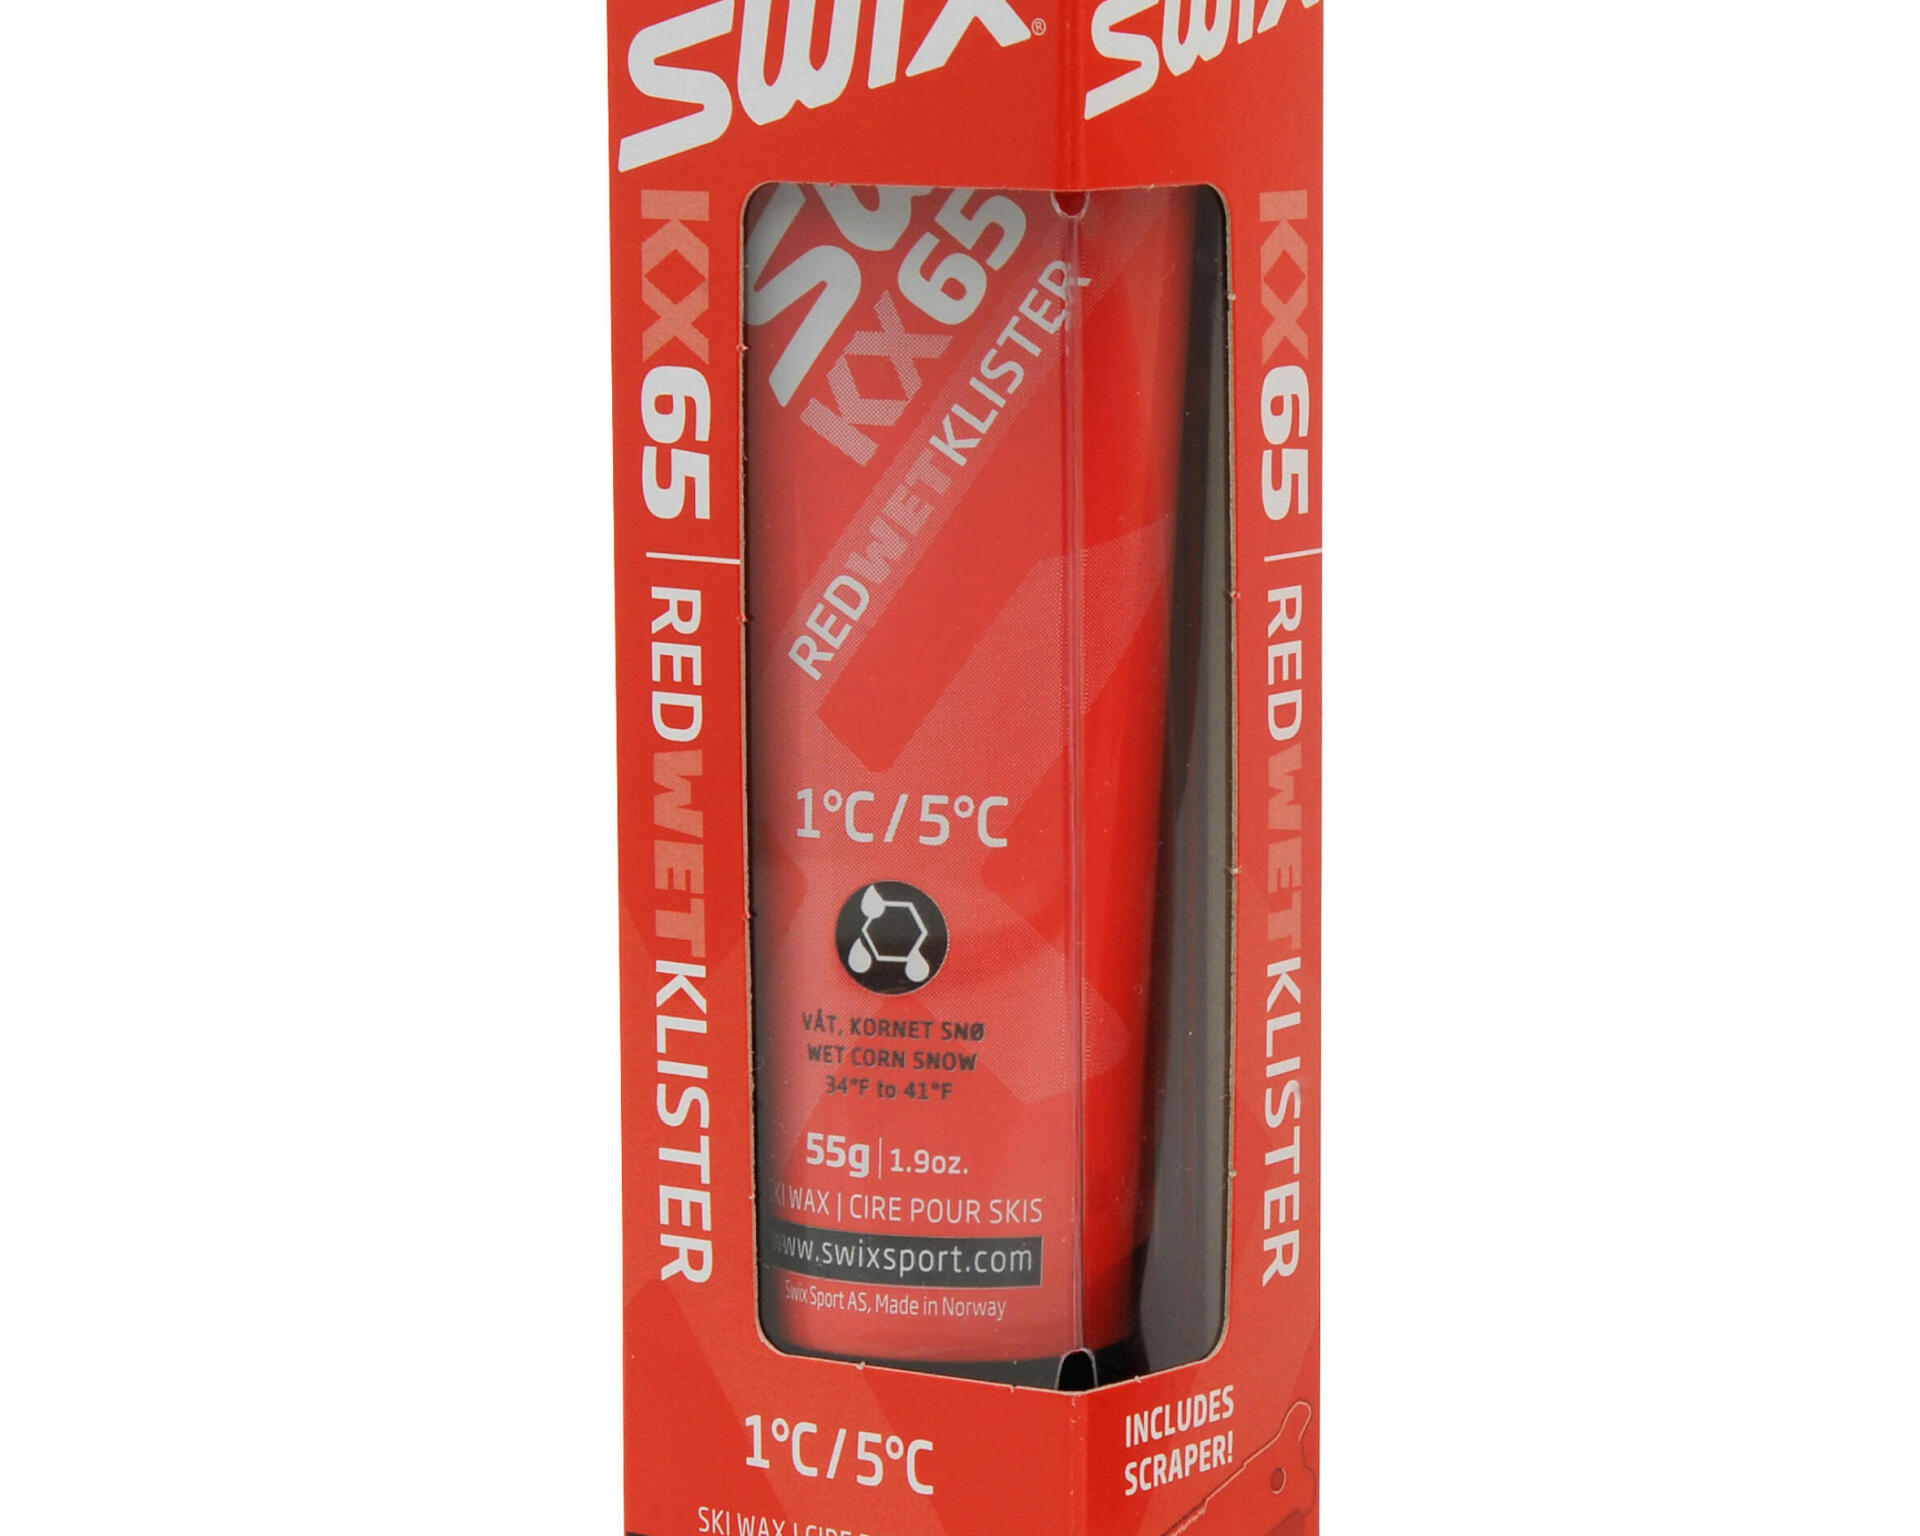
There are two categories of grip wax, and so two waxing methods:

  • “poussette” wax

    Hard paste or “poussette”

  • klister wax

    Klister wax

Hard paste or “poussette”

This wax is used on fresh or powder snow.
It’s a hard wax that’s applied by "drawing in" the waxing chamber of the ski’s sole.
You should choose it based on the temperature of the snow.

1 - Remove the wax from the grip area (if necessary)
2 - Mark out the grip area with painter's tape on the sole of your skis.
3 - Fill in the waxing area with hard wax
4 - Spread the wax evenly with the cork stopper
5 - Repeat steps 3 and 4 between 3 and 4 times to get a sufficiently large layer to grip with.
6 - Remove the tape

waxing classic cross-country skis with “poussette” wax

Klister wax

This wax, which comes in a tube, is used for transformed, frozen or wet snow.Like hard wax, you should choose it based on the temperature of the snow.

1 - Remove the wax from the grip zone (if necessary)
2 - Mark out the grip zone with painter's tape
3 - Apply the wax by making chevrons (V shape)
on the sole
4 - Spread out the wax using the scraper and/or by hand.
Apply one or two layers.
5 - Remove the tape

klister grip wax

looking after classic waxable cross-country skis

A few simple steps

TO KEEP YOUR SKIS IN GOOD CONDITION

To prevent your skis from warping or rust setting in, be sure to clean and dry your skis with a microfibre cloth at the end of each trip out.

To prevent the soles from rubbing against each other during transport and storage, use a ski tie to hold the soles firmly against each other, but not too tight to maintain their camber.

2 - Waxing the gliding zone

To increase gliding performance by making the sole of the skis as compatible as possible with the characteristics of the snow (air temperature, snow quality, etc).
You’ll need to apply glide wax outside the grip area.
You can choose between two types of glide wax:liquid or solid.

  • cold glide wax - cross-country skiing

    Cold glide waxing - liquid wax

    in the form of an aerosol or stick with applicative foam
    This type of wax is very easy to use because it’s quick and doesn’t require any specific equipment.
    Perfect for last-minute waxing, it’s also great for beginner cross-country skiers for whom waxing is more of a chore than a pleasure.
    It’s a complementary wax to hot wax, but doesn’t replace it.

  • cross-country ski hot glide wax

    Hot glide waxing - solid wax

    Shaped like a bar of soap - each colour corresponds to an outside temperature
    This type of wax requires specific equipment to apply it.
    This wax provides excellent glide performance and helps maintain and protect the base of the skis.
    It’s suitable for intermediate and advanced skiers, or simply for anyone who enjoys maintaining and waxing their skis.
    ------
    Check out our glide waxing tutorial
    based on a cross-country skating ski

Our accessories
for your cross-country skis

  • cross-country ski clip

    Ski clip

  • cross-country ski cover

    Cross-country ski cover

  • cross-country ski scraper

    Scraper

  • cross-country ski clip

    Ski clip

HOW TO LOOK AFTER YOUR CLASSIC WAXABLE TOURING SKIS

Philippe

" I’m passionate about mountain sports.Today, I’m lucky enough to fully live out my passion for sport and, more particularly, for cross-country skiing in being both a cross-country ski instructor and sales manager for Inovik.I hope to share my passion for this sport with you through articles and advice.

Cross-country skiing tips

classic cross-country skiing

THE BENEFITS OF CROSS-COUNTRY SKIING!

Cross-country skiing is increasingly popular, accessible to all and enables you to unwind while enjoying snowy landscapes. Whether it's classic, skating or Nordic hiking, there's something for everyone!

Ski touring, an ideal activity for the whole family!

Crosscountry skiing, an ideal activity for the whole family!

Are you looking for a winter sport to enjoy with your family? Try ski touring! It's fun and accessible as well as a great sporting activity; check out all the reasons why ski touring is perfect for the whole family!

DISCOVER AND GET STARTED IN CLASSIC CROSS-COUNTRY SKIING

DISCOVER AND GET STARTED IN CLASSIC CROSS-COUNTRY SKIING

Cross-country skiing originally came about with the alternating step technique. This is suitable for all ages and all levels because you can do it both in walking and sports mode. Discover this winter sport and the basics to get off to a good start.