Which binding to choose according to your body type and level of skiing?
Choosing your ski binding also requires consideration of the technical level of the skier and their physical condition.
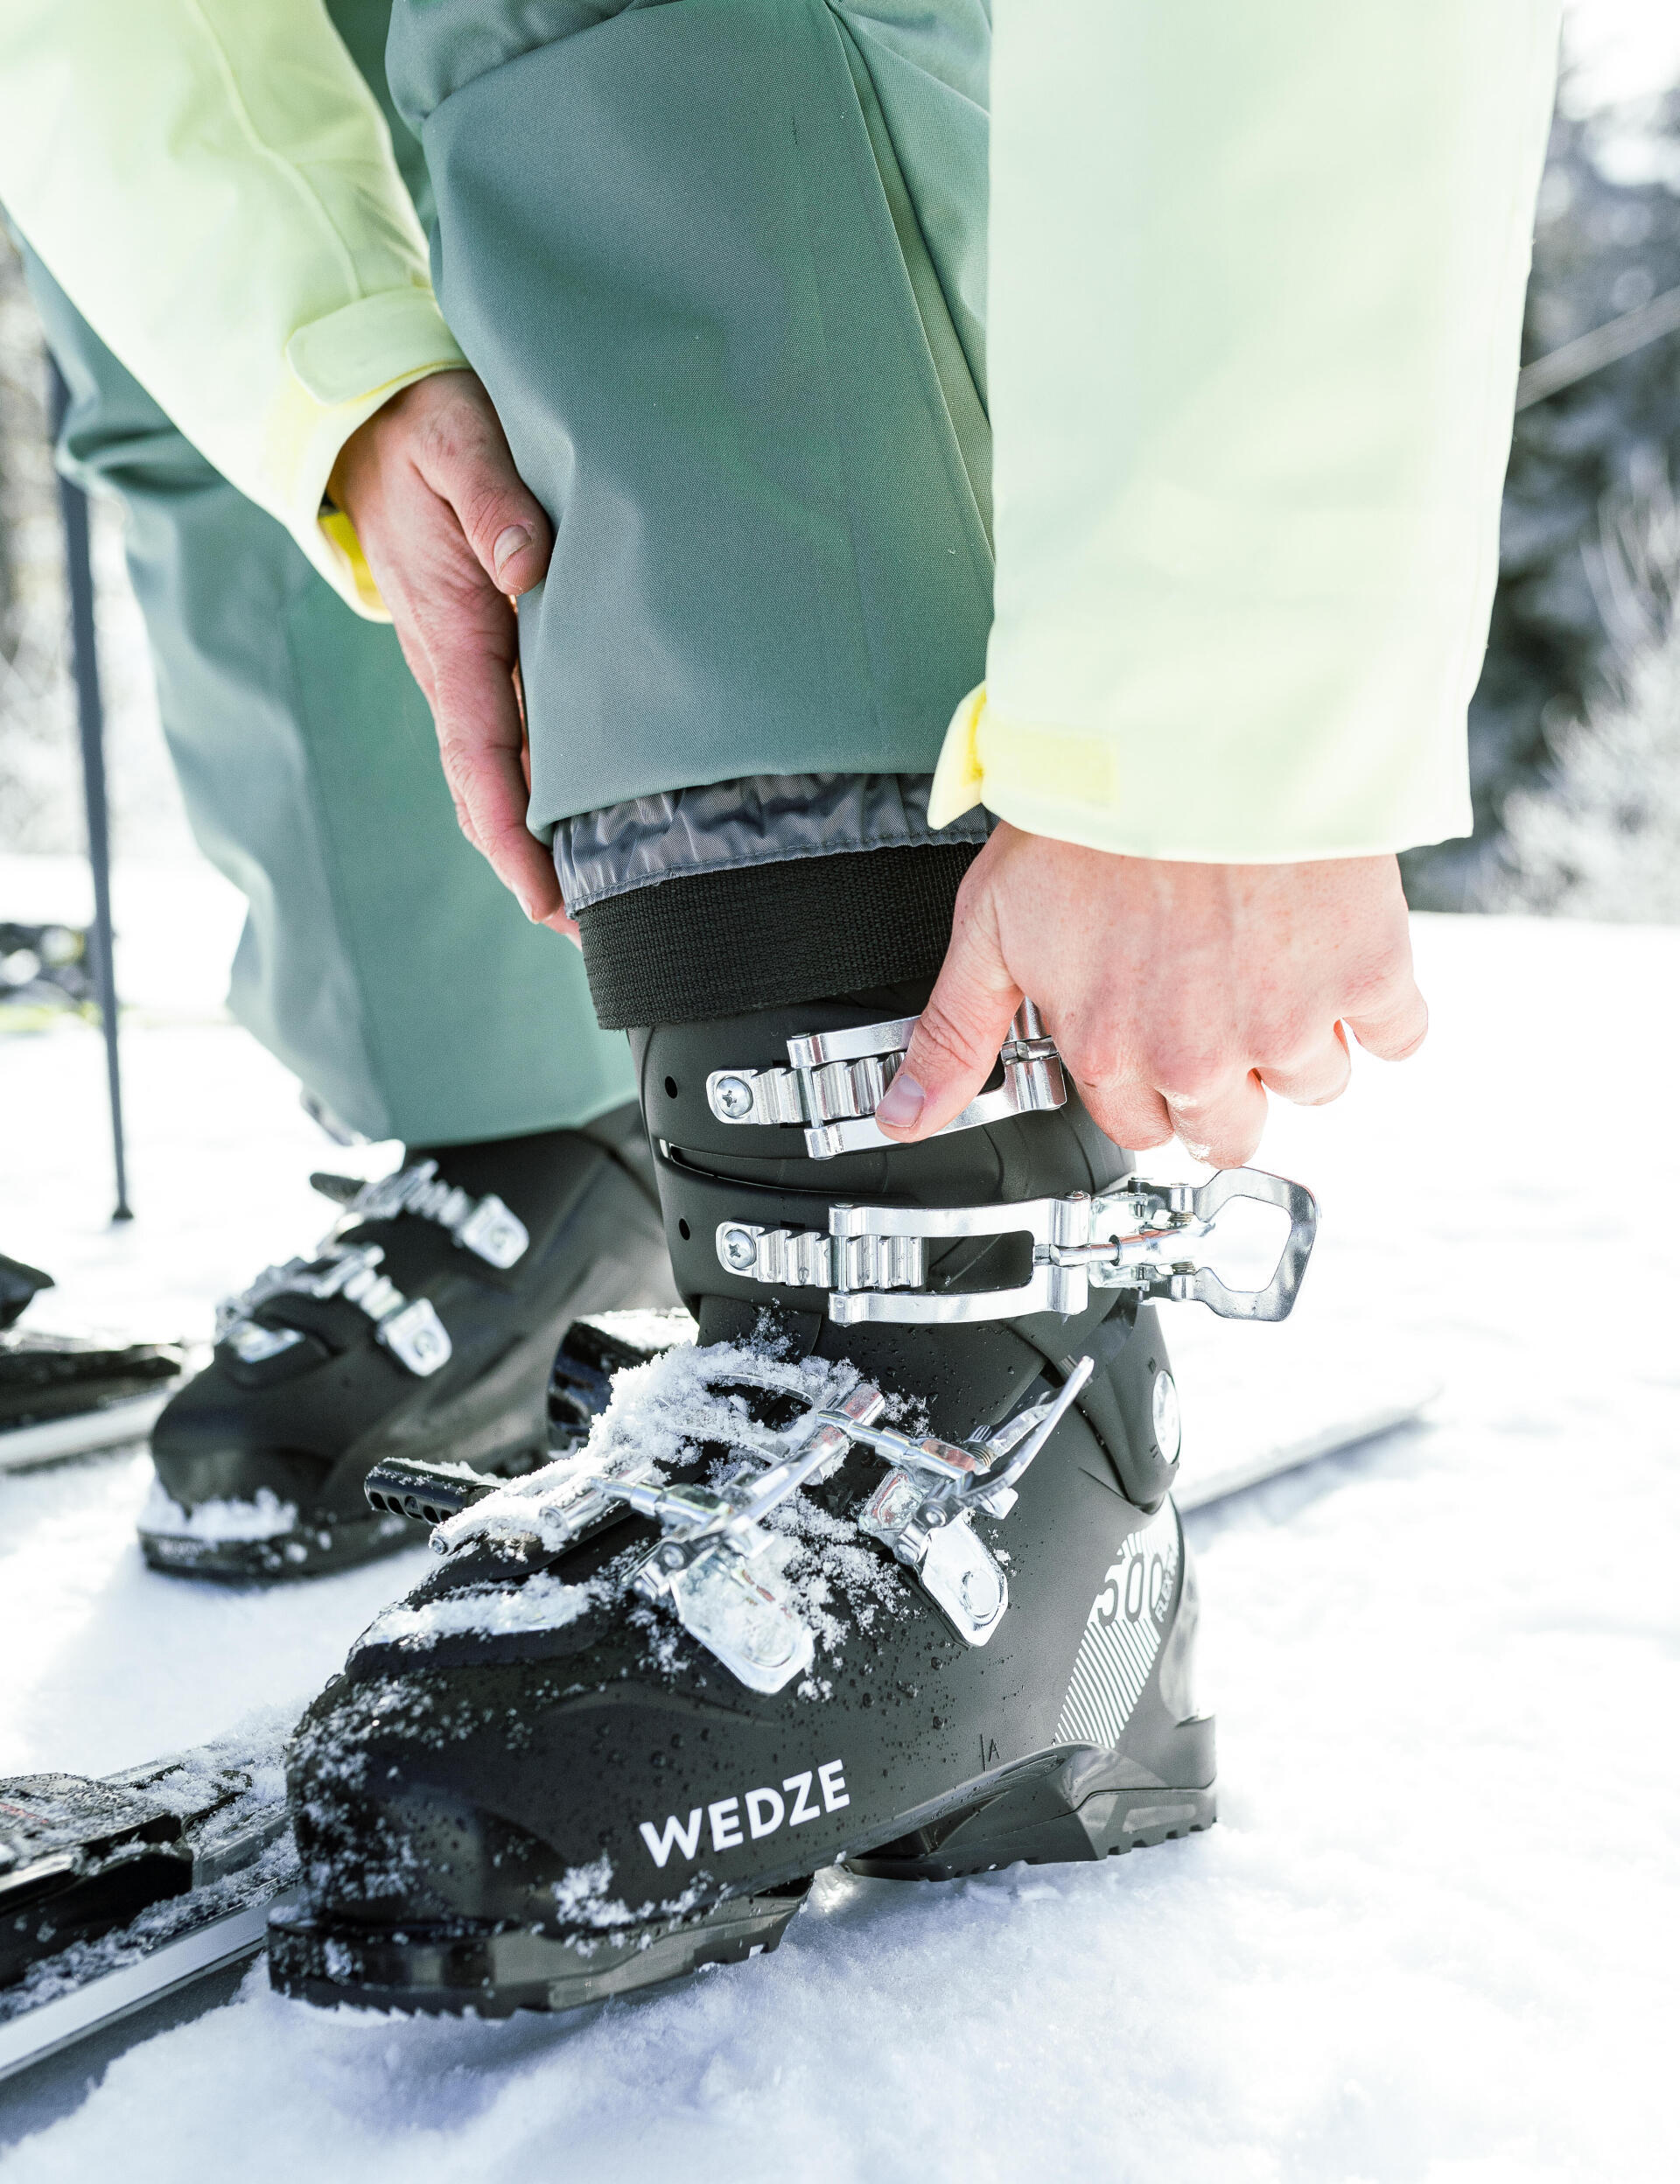
Indeed, the DIN of a ski binding located directly on the binding lets you adjust the hardness of the binding to take your skis off more or less easily during a fall.
If you have an intermediate or advanced ski level, you’ll go for a DIN slightly higher than your weight. This setting will prevent skis coming off inadvertently in more challenging ski conditions, but won’t prevent the ski from coming off in the event of a fall.
For beginner skiers, the DIN will be below their weight to make it easier for the ski to come off to avoid injuries.
Example: While a beginner skier weighing 80kg will set the DIN of their ski binding between 8 and 9. While a beginner skier weighing 80kg will set the DIN of their ski binding between 7 and 8.
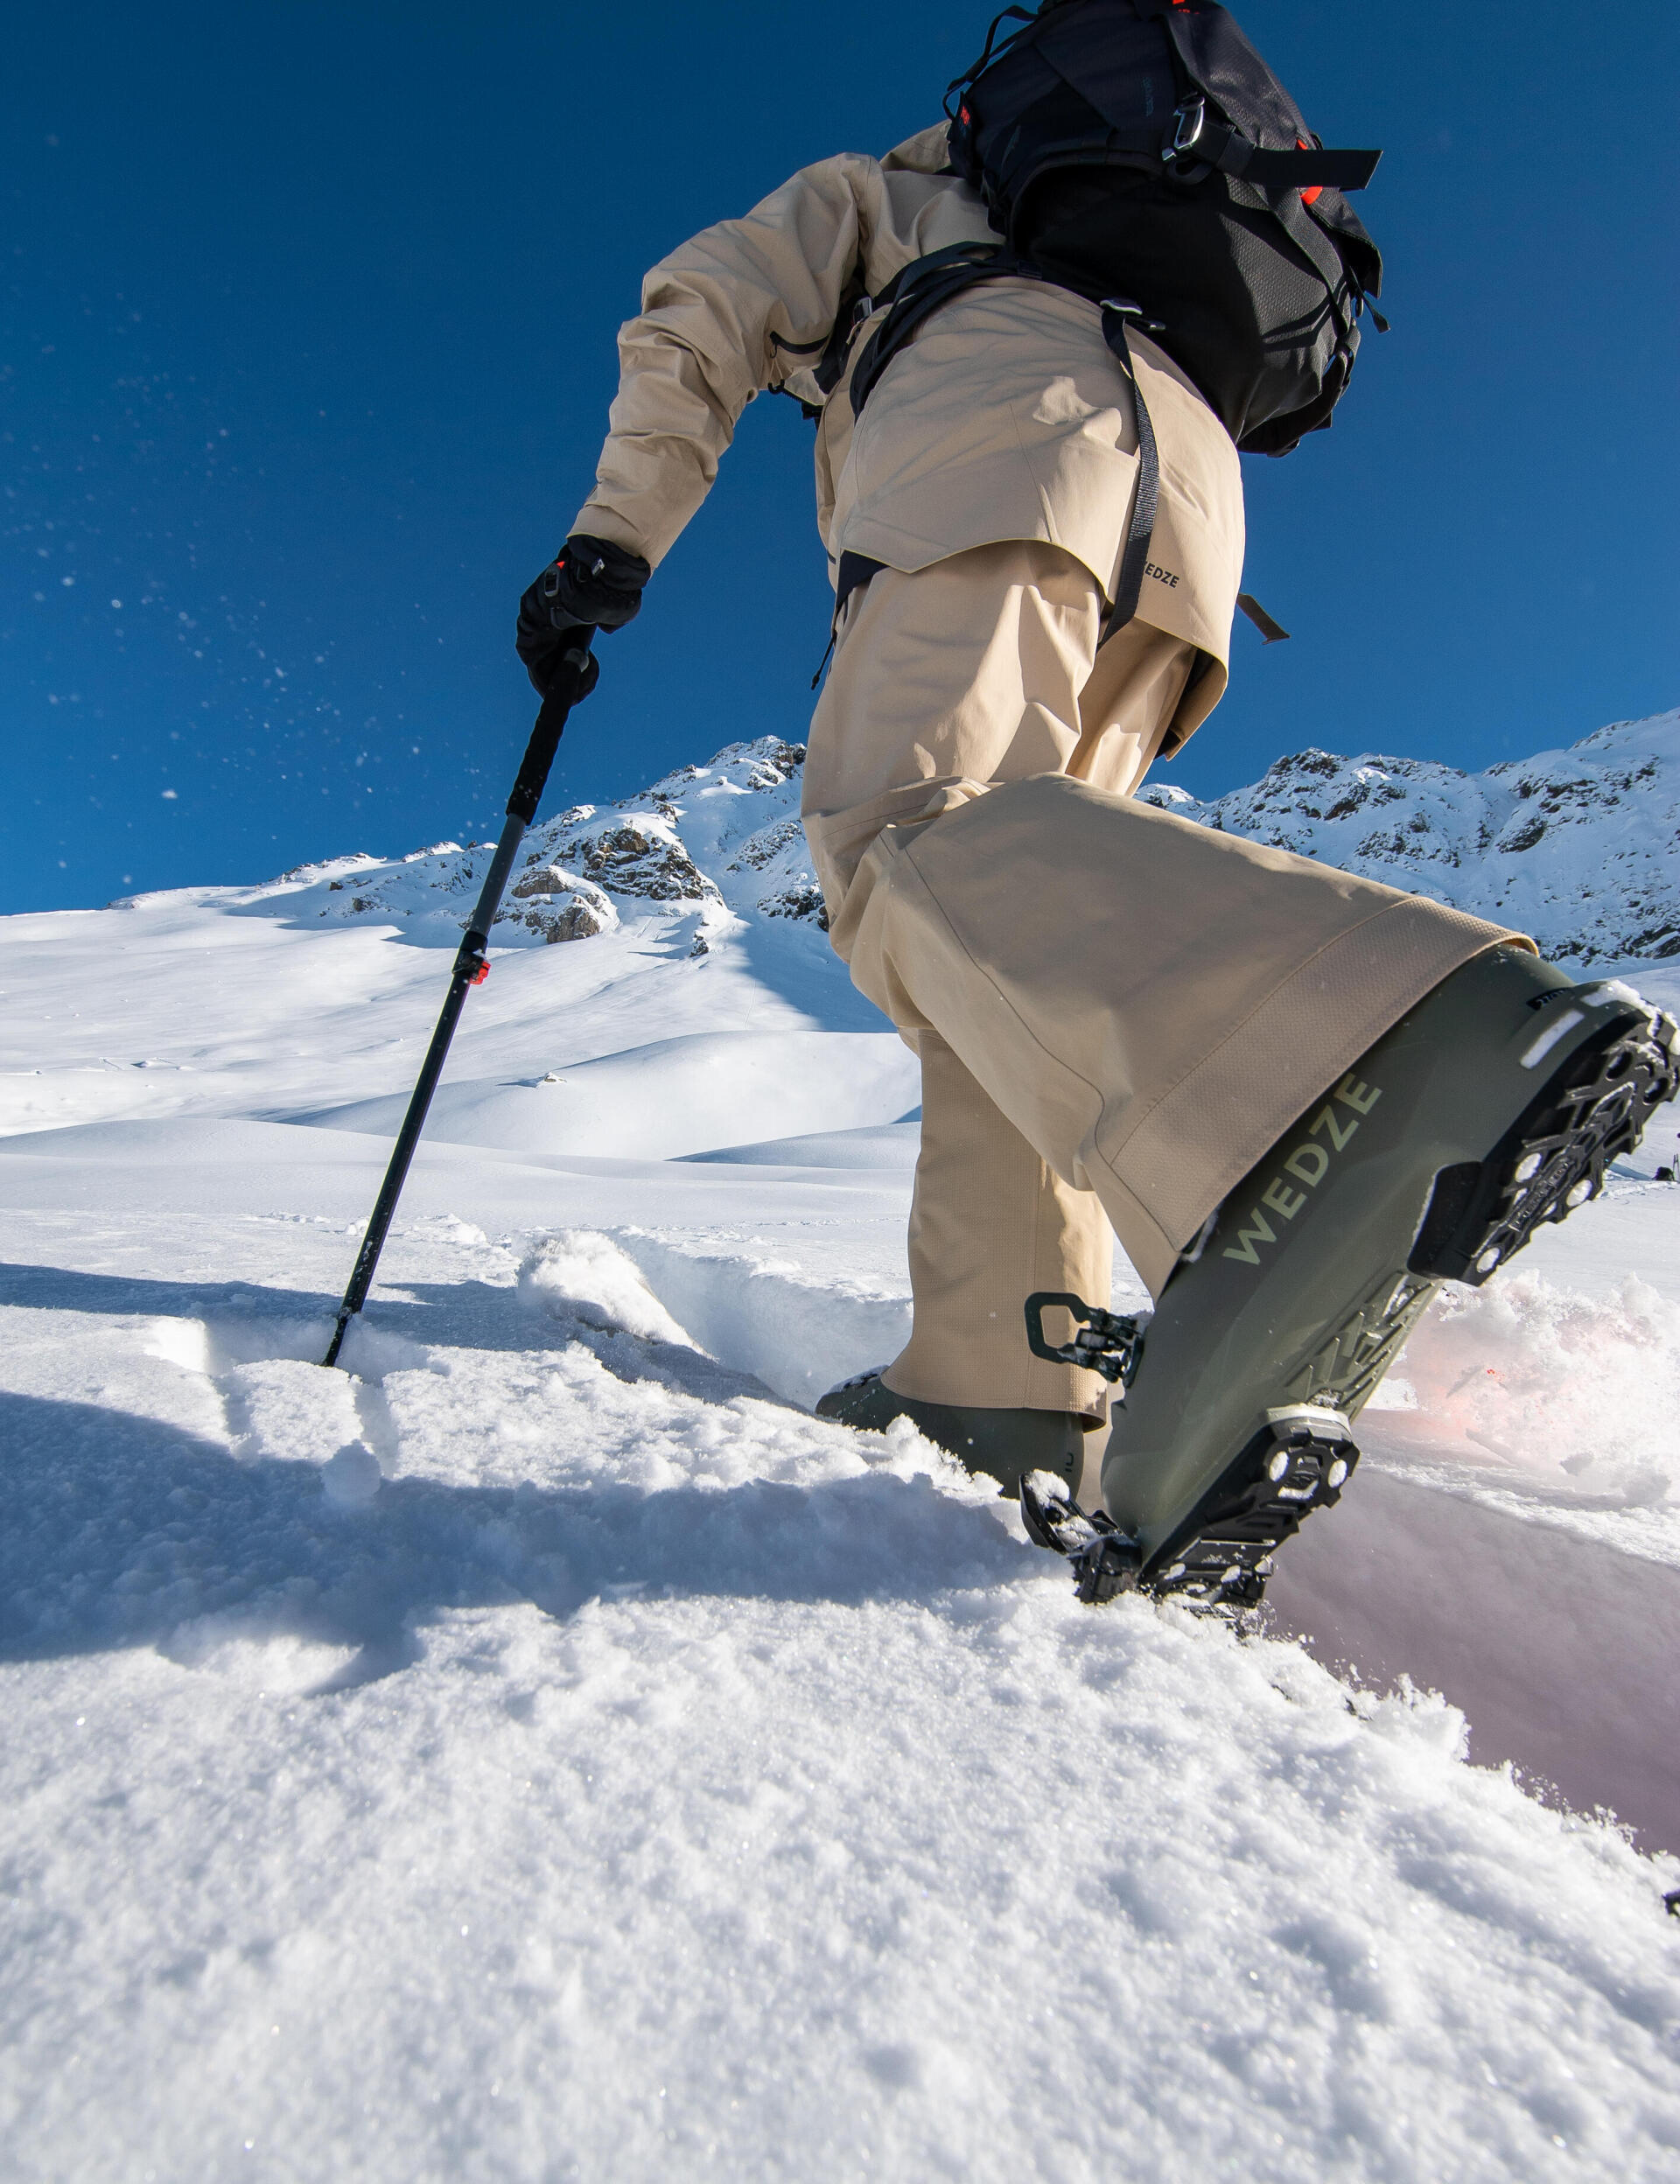
Please note that some insert ski touring bindings may not have DIN settings. These bindings are pre-adjusted so that they come off easily during ski touring falls.