How to use your splitboard?

How to use your splitboard?

Like ski touring, splitboarding allows you to access off-piste spots, to enjoy snowboarding!

As you can see, the splitboard is the essential tool for all snowboarders who love winter riding, in search of wide open spaces and beautiful freeride descents. But you still need to know how to use it!
We’ll explain everything!

Discover the video tutorial on how to use your splitboard

How to use your splitboard?

How to use your splitboard?

Before you start 

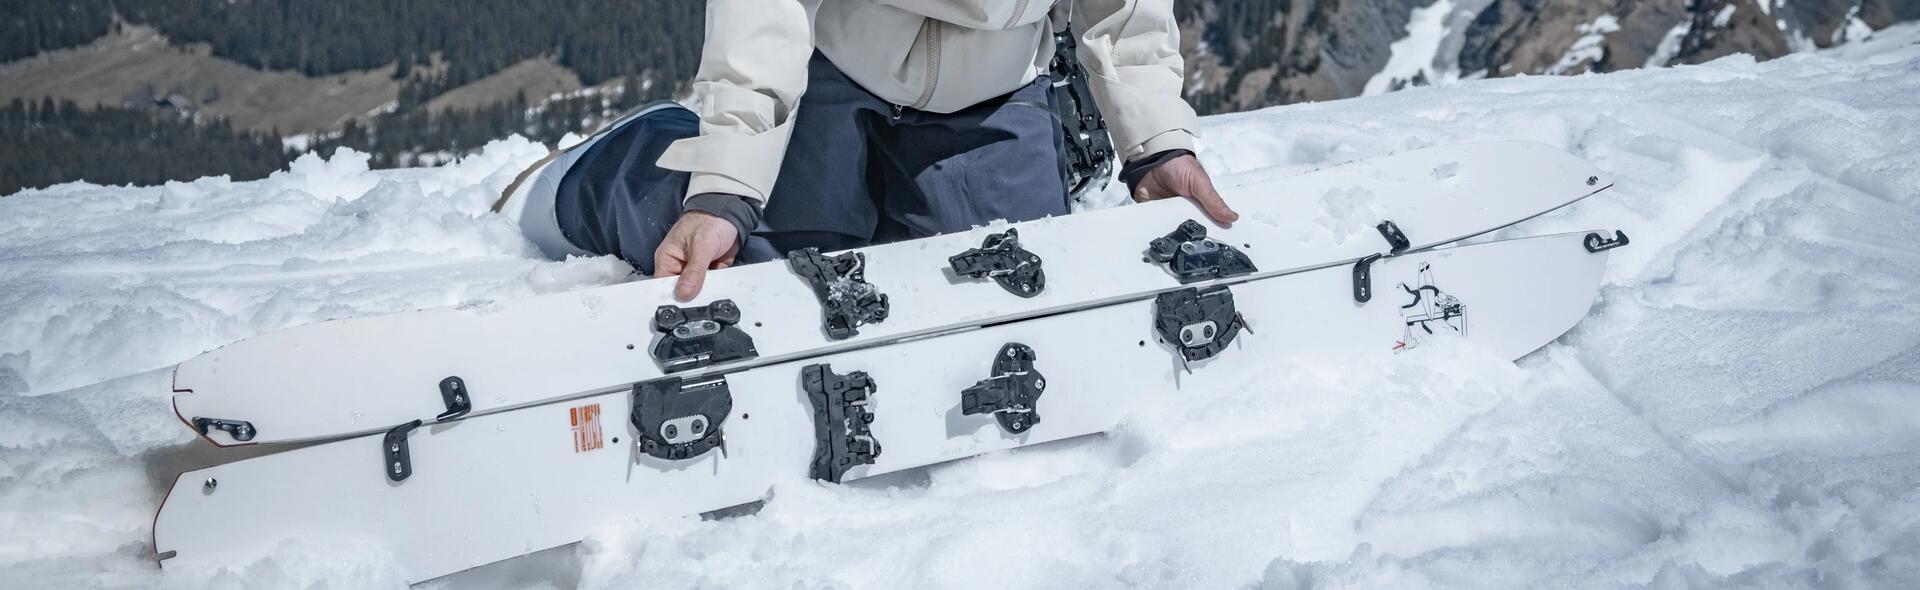
Your split is in the downhill position, so it is in snowboard mode.
To switch it to the uphill position, you will have to split it in 2 and turn it into 2 skis :

1/ Release the rear latch to remove the bindings
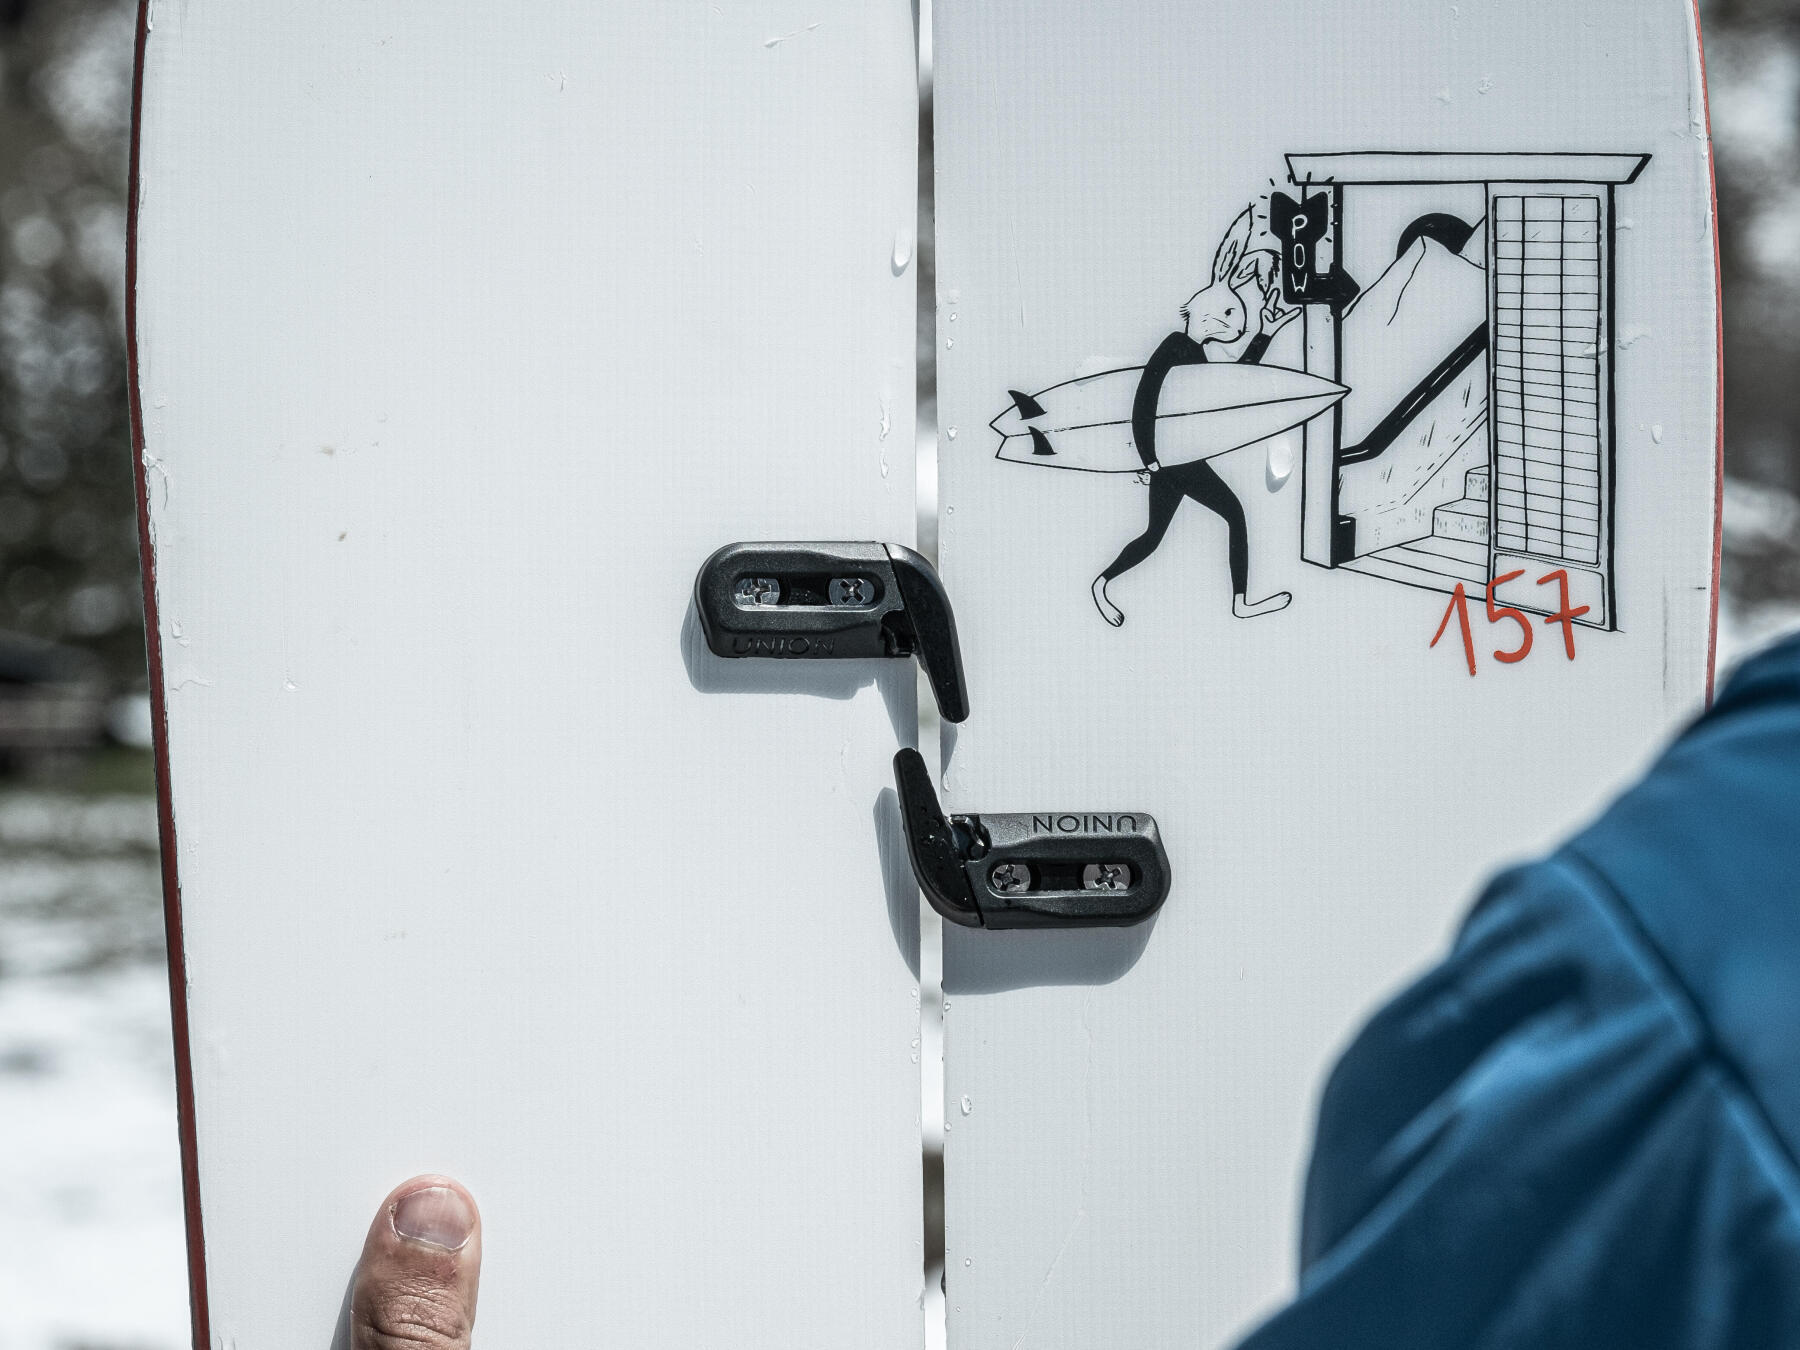
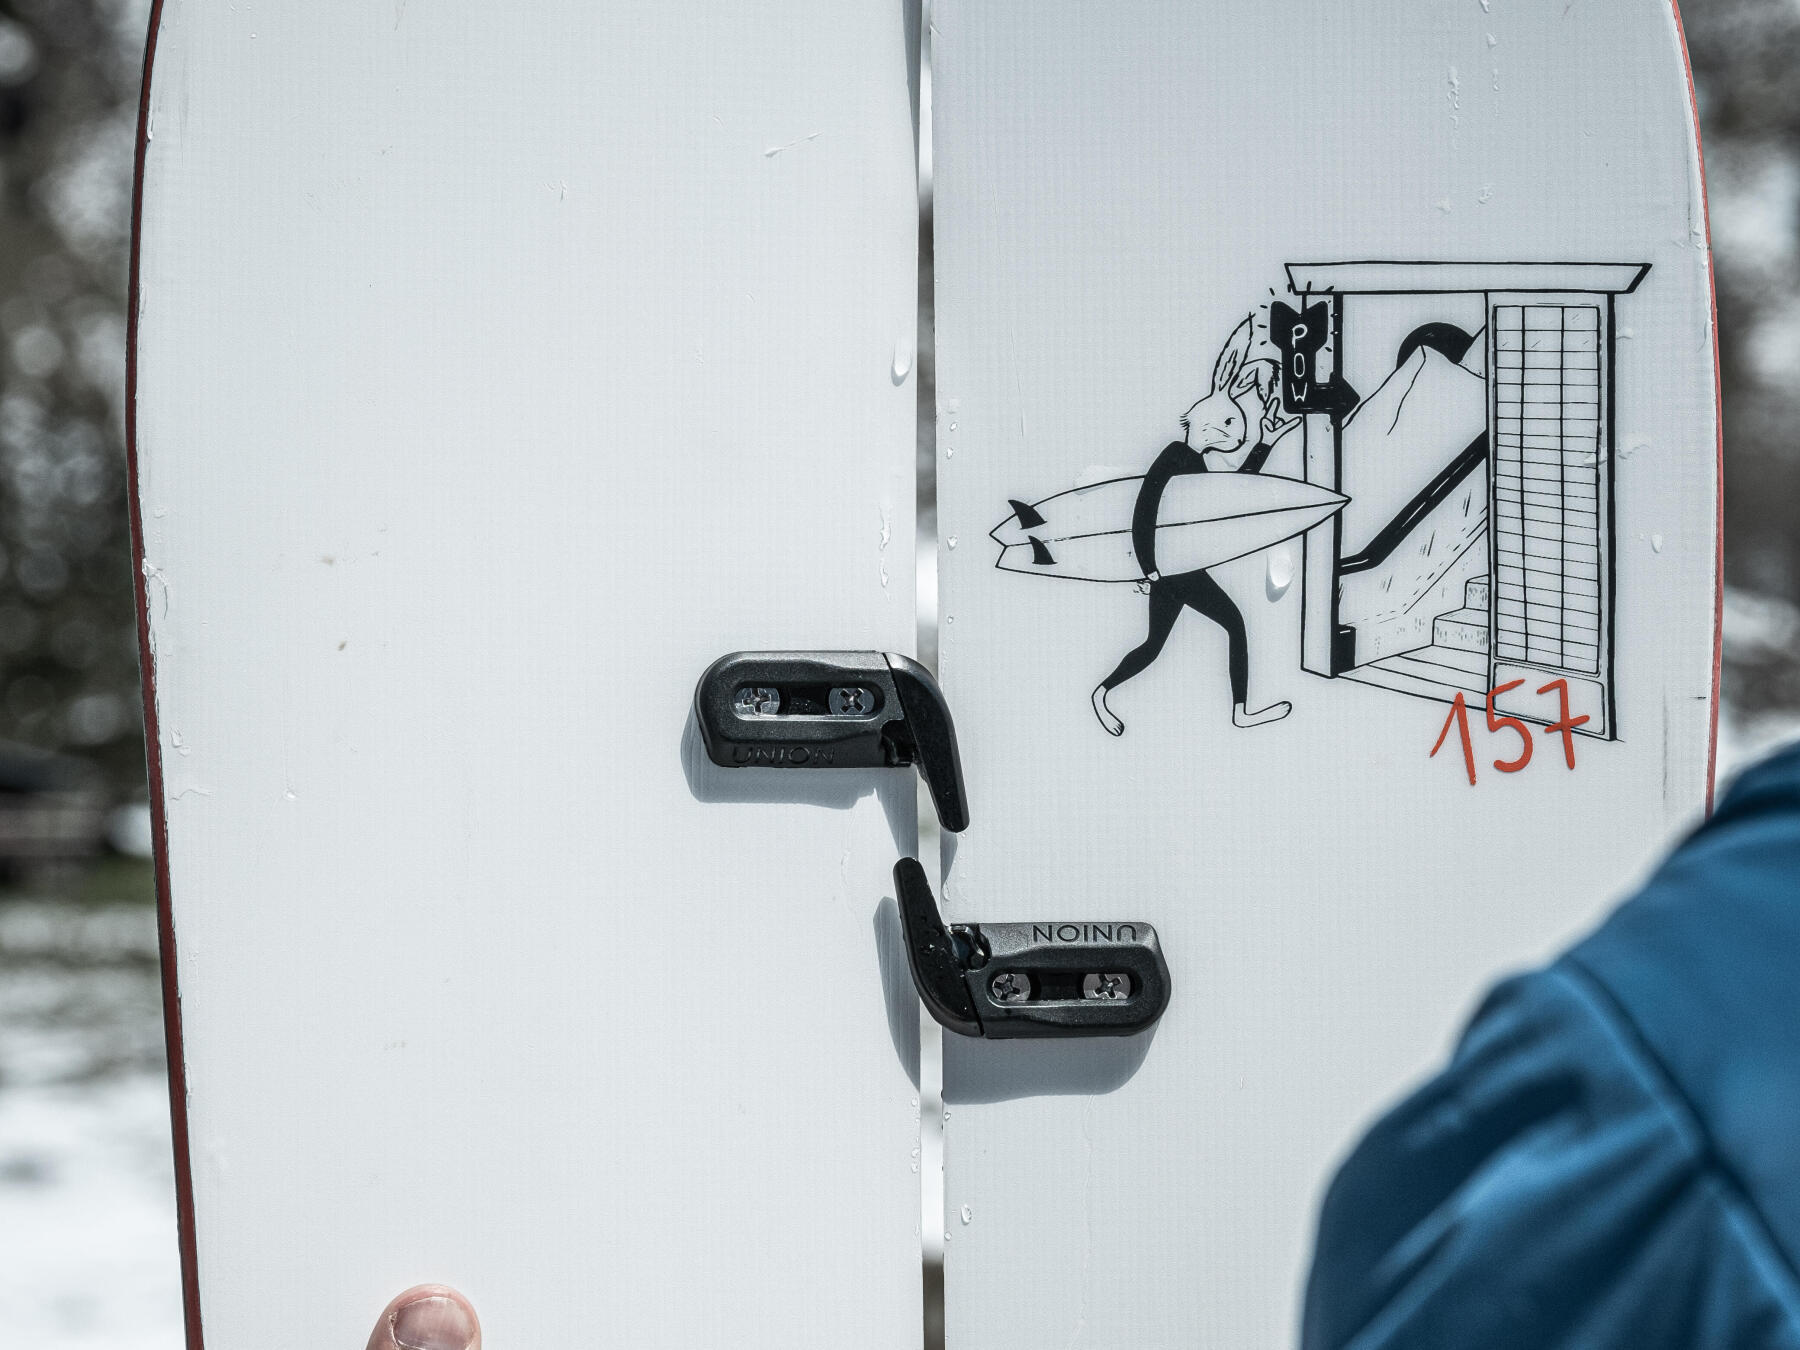
2/ Open the hooks at the nose and tail.
3/ Slide the skis together vertically, to free the hooks and separate the sides.
4/ Reverse the skis. The hooks should be on the outside.
5/ Mount the bindings in the mounted position, with the buckles on the outside.
6/ Also tilt the spoiler of the binding in the up position to have more rearward travel so that you can extend the pitch.
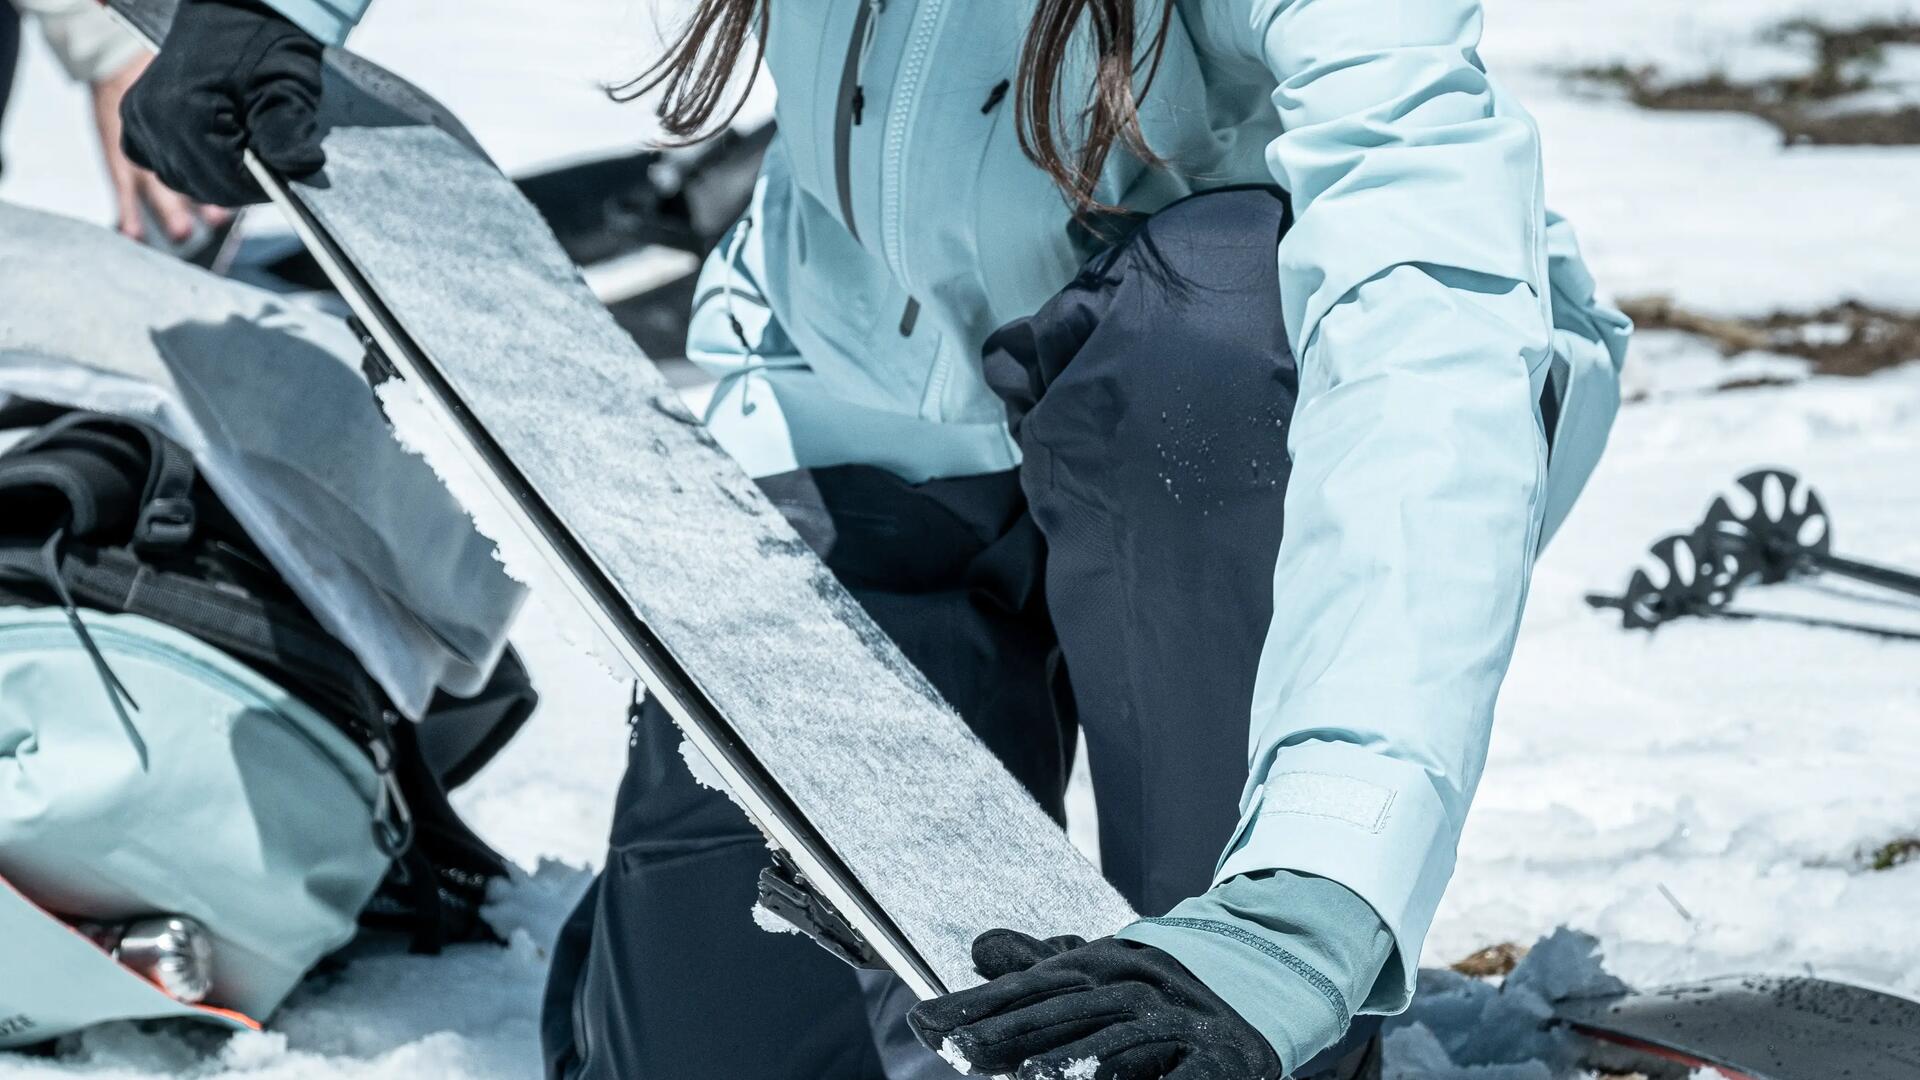
7/ Put the skins on the soles of your skis
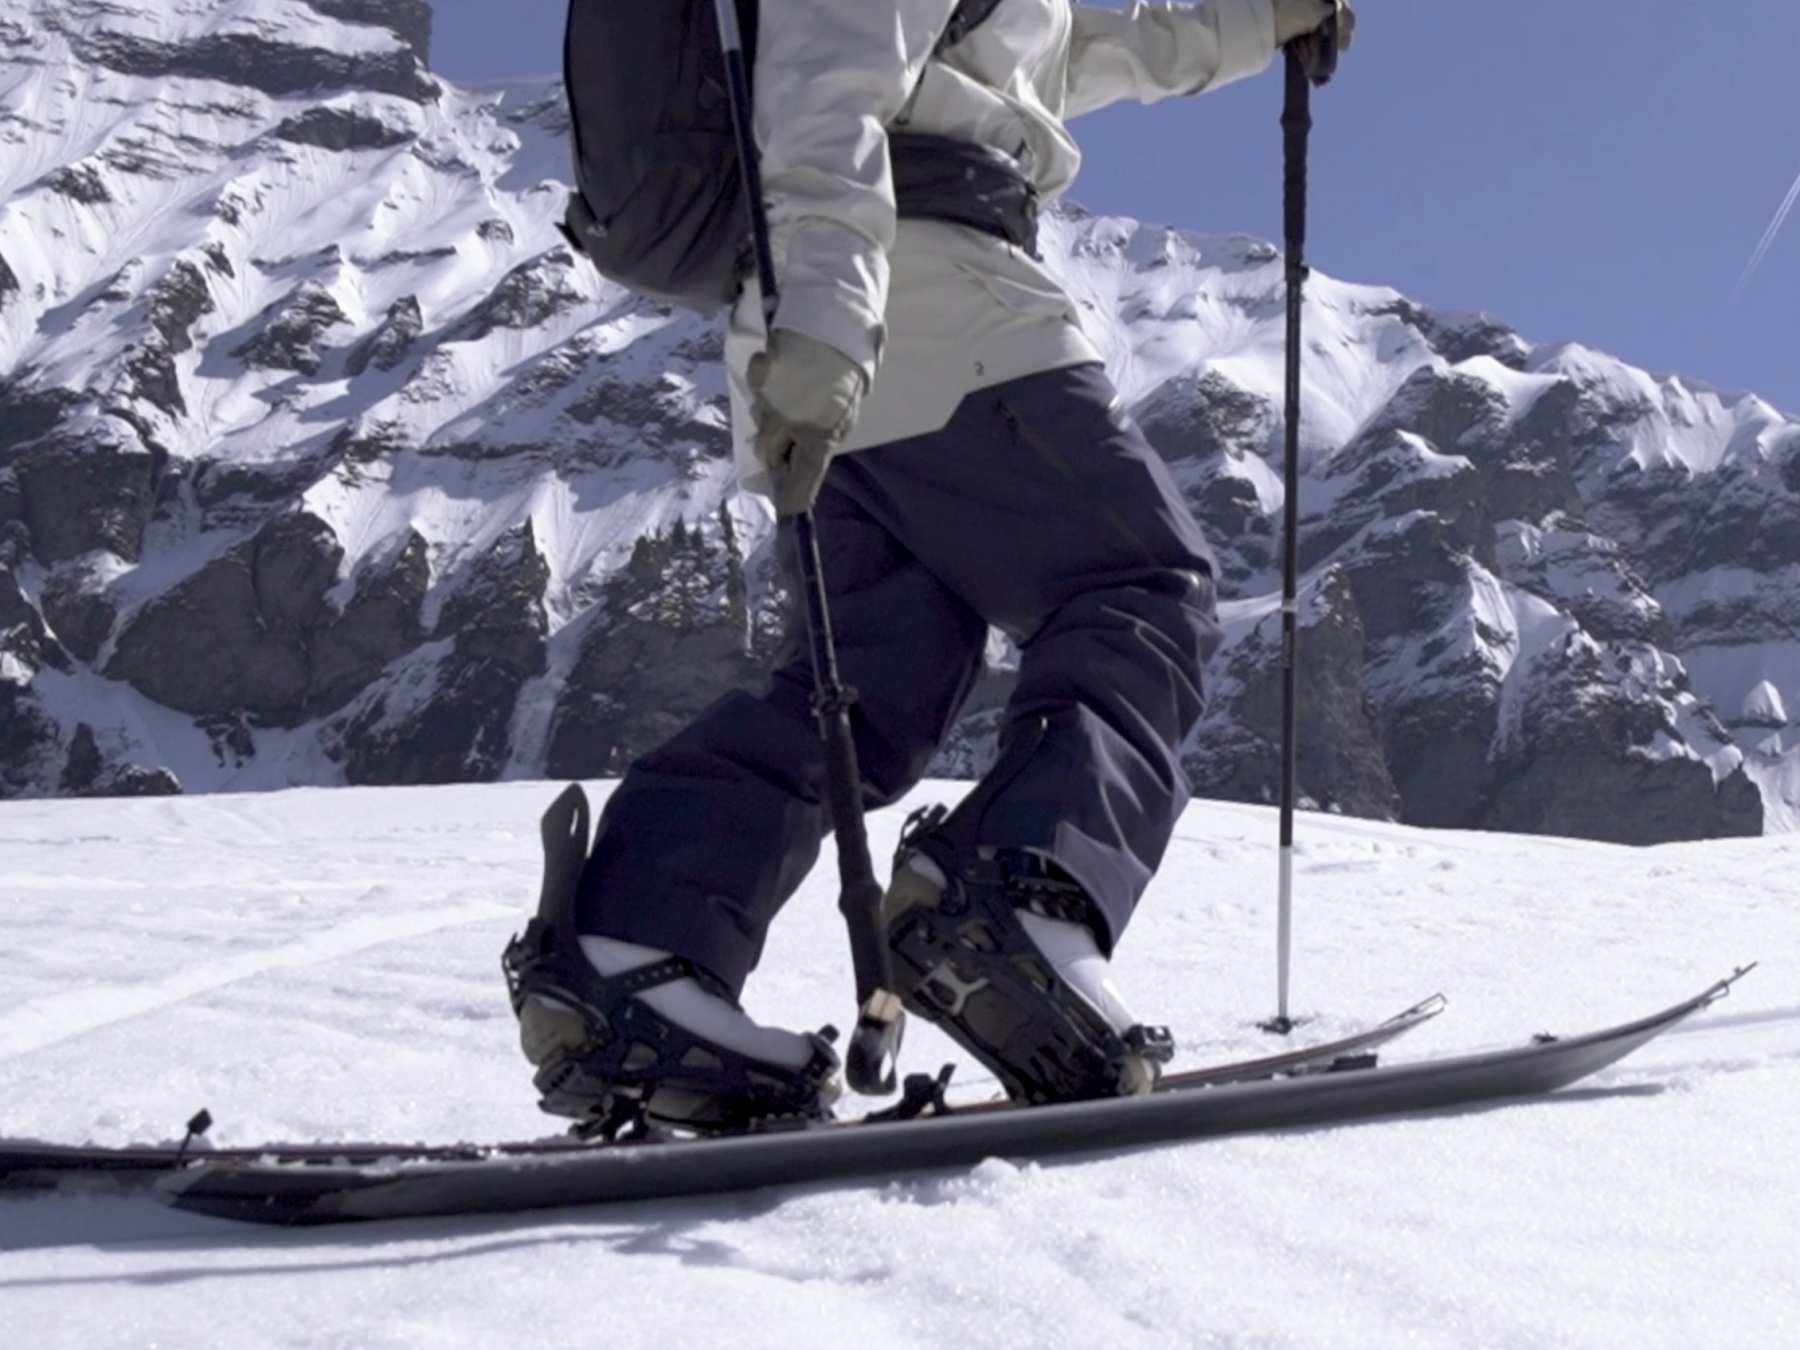
8/ Set your poles

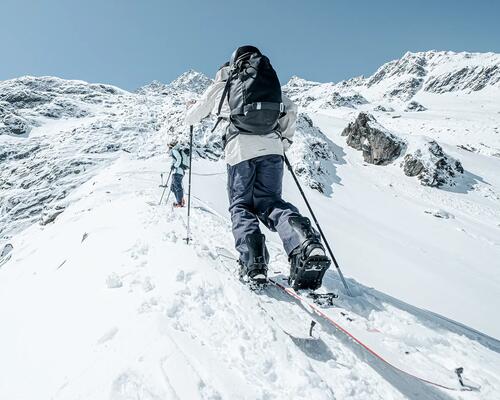
You can start your ascent!

How to use your splitboard?

How to put the skins on?

The split is now in the up position.
It is now important to put the skins on the sole correctly.

How to use your splitboard?

During the climb

During the ascent, when the slope becomes steep, you can use the climbing wedges to ease the effort.
Located underneath the bindings, you simply turn them by one notch to bring them closer to your heel.

Quick tip : use the handle of your stick to adjust the position of the wedge.

How to use your splitboard?

Once you reach the top

Up at last! All you want to do is put on your shoes and ride! But first, we explain how to switch from skis to a board:

1/ Remove the skins, fold using the net and careful put them away in your bag.
2/ Reshape your snowboard using the clips and hooks on the nose and tail of the board.
3/ Reposition the bindings in the down position, with the buckles on the outside.
4/ Fold your poles and hang them on your backpack (or inside if you have opted for 3 strands).
5/ Tighten your boots and switch the spoiler of the binding to the downhill position so that you are well supported on the descent.
6/ Put on your halmet

You’re ready to ride!

You are now ready to use your splitboard correctly, whether you are going up or down!!

Theory OK, now it's time to put it into practice!

A few tips that you may also be interested in

How to choose and equip yourself for Splitboard?

How to choose and equip yourself for Splitboard?

The splitboard is an extraordinary piece of equipment that is now coming of age. So let’s make the most of it and explore its different aspects.